
DIY Home Decor: How to Make a Rope Side Table from Scratch
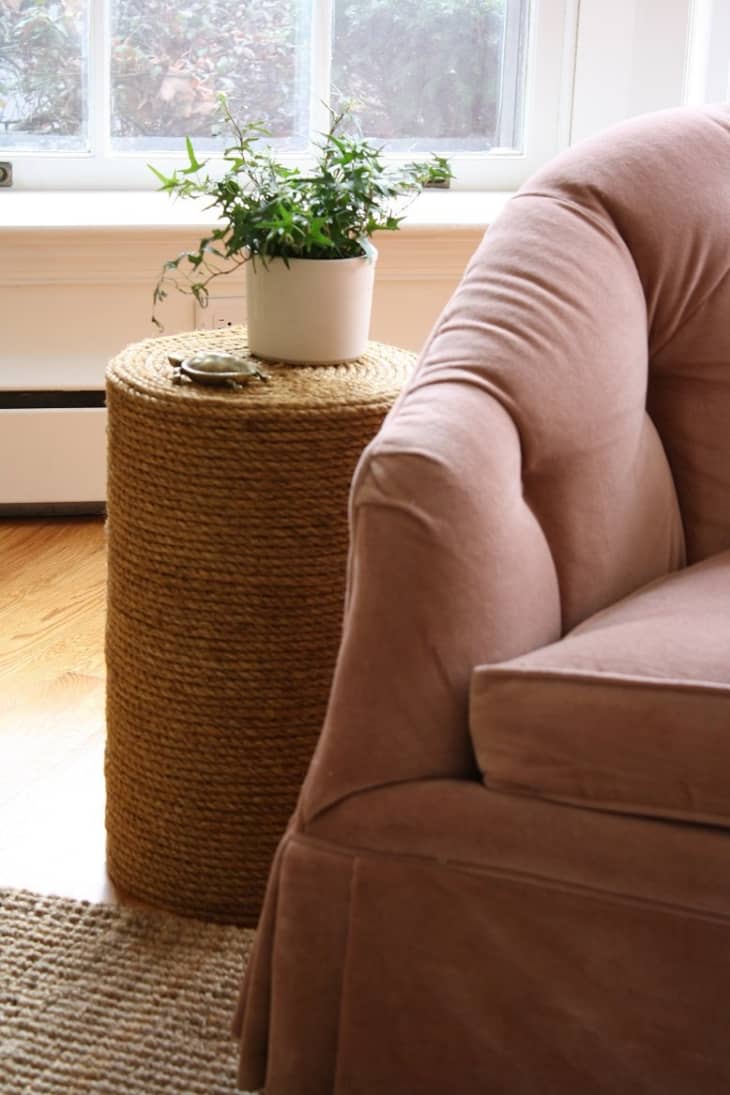
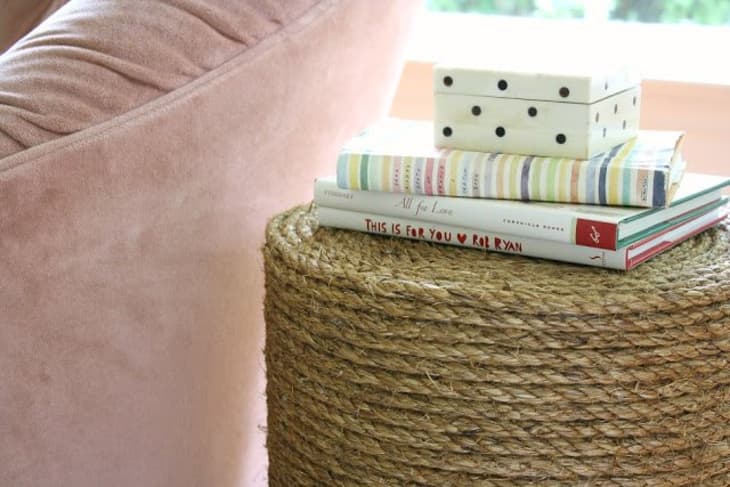
Ashley loved rope-wrapped side tables, but didn’t like the idea of buying two for her living room. After some brainstorming, she came up with a cheap solution that: a) met the need for an accent table and b) mimicked the look of woven rope. Although not great for houses with cats, they’re an otherwise affordable and stylish alternative.
Skill Level: Moderate
Time Required: 3 hours (including drying time)
Project Cost: $85 (for two tables)
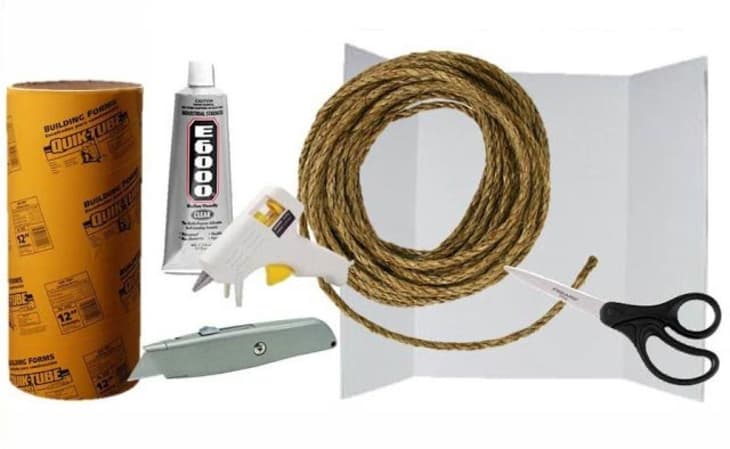
What You Need
Materials (for two tables)
- 1 4′ long concrete forming tube
- 2 foam boards or cardboard
- 8 packages of 50′ 3/8″ manila rope (or 50′ of continuous rope)
- E6000 glue or glue gun/glue sticks
Tools
- Utility knife
- Scissors
Instructions
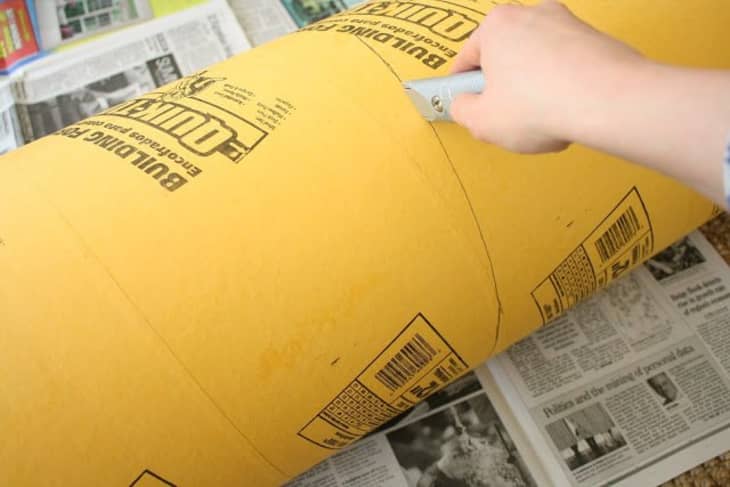
1. Cut the concrete forming tube in half with a utility knife so you have two 2-foot-long tubes. This is the height of each table once finished.
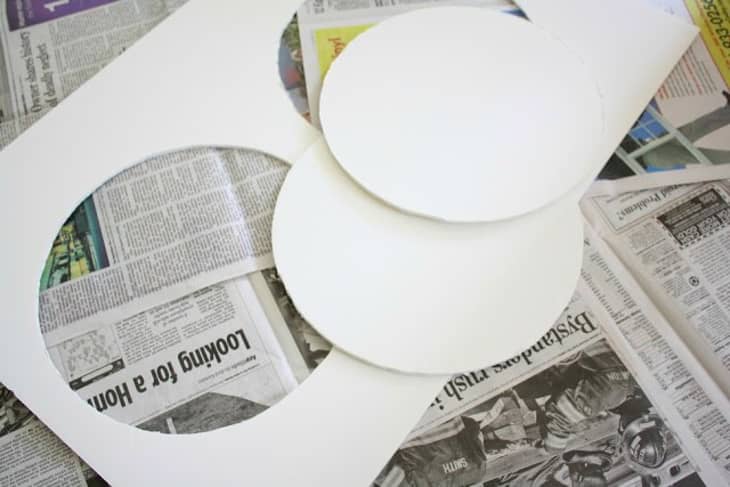
2. Lay the tube onto the foam core board and trace, then cut out, two circles to serve as the top and bottom of your table.
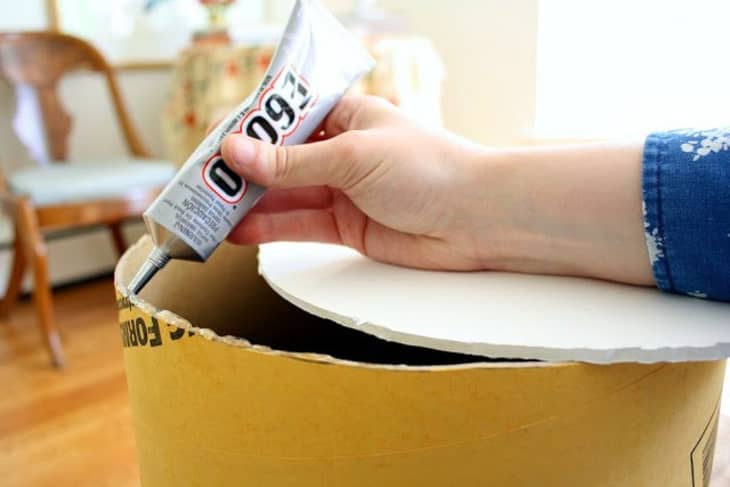
3. Use E6000 glue (or a glue gun), to apply adhesive to the rim of the tube at both ends and attach the foam core circles. Wait for the glue to set before moving on.
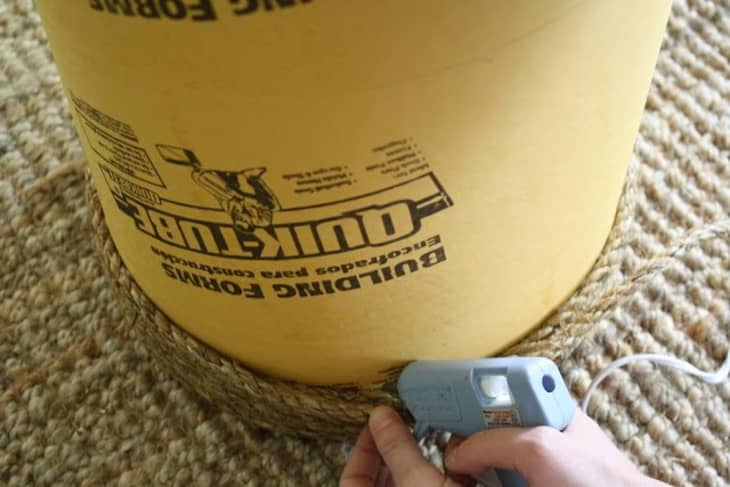
4. Once the top and bottom of the table are stuck on, start gluing the rope around the bottom edge of the base using a glue gun. Wrap the rope tautly and snugly as you go. Apply glue every few inches as you move around the outside of the table.
Tip: A glue gun is best for this step since the rope adheres well as soon as the glue cools.
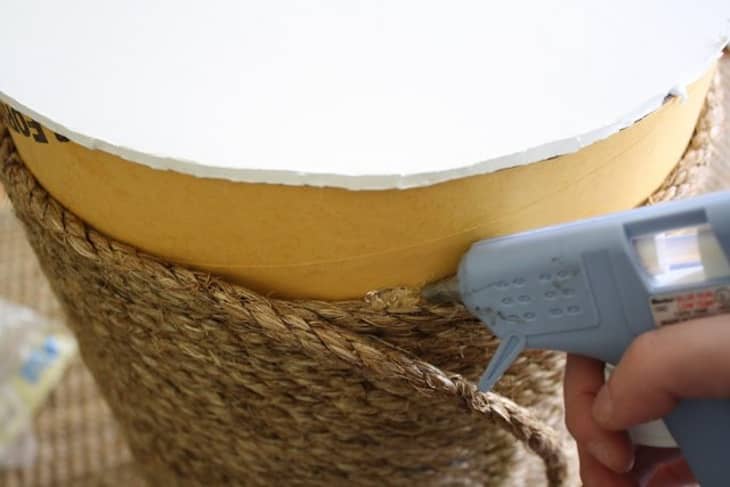
5. Once you arrive at the top of the table, continue coiling the rope around the top, moving from the outside edge towards the center of the circle until it is fully covered.
Tip: If you used lengths of rope, versus one continuous piece, there will be seams on the side of the table (where one piece of rope ended and the next started). Don’t worry too much about these, as they aren’t that conspicuous when you’re done.
6. Repeat the process for your second table, if desired.
Have a really great DIY project or tutorial that you want to share with others? Let us know! We love checking out what you’re making these days, and learning from our readers. When you’re ready, click here to submit your project and photos.